In Adobe Premiere Pro, you can change the order of layers, also known as tracks, in the timeline to determine how they appear in your video. Here's how you can change the order of layers:
1.
Open
Adobe Premiere Pro and either create a new project or open an existing project.
2.
Locate
the timeline panel, usually located at the bottom of the screen.
3.
Identify
the layers/tracks that you want to rearrange. Layers are displayed as video
clips, audio clips, or graphics in the timeline.
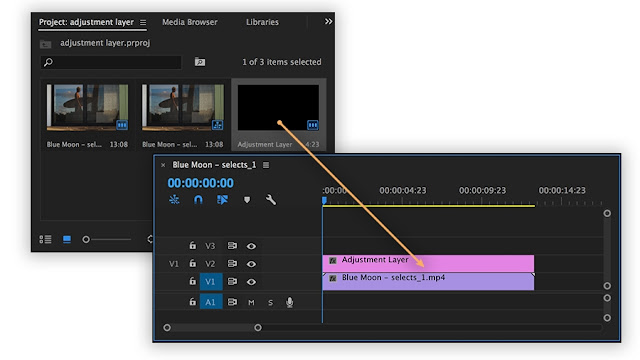
4.
Click
and drag the layer you want to move to a new position. As you drag the layer,
you will see a highlight or outline indicating where the layer will be placed.
5.
Position
the layer above or below the desired track and release the mouse button to drop
the layer in the new position.
It's
important to note that changing the order of layers in the timeline affects how
they appear in the final video. So, ensure you arrange them according to your
desired sequence and visual hierarchy. For example, if you want a certain video
clip to appear on top of another, make sure it is positioned higher in the
timeline.
Remember,
you can also adjust the track height to make it easier to view and rearrange
the layers. Hover your cursor over the horizontal line between the tracks in
the timeline until it turns into a double-headed arrow. Click and drag the line
up or down to increase or decrease the track height.
By following these detailed steps, you can easily change the order of layers in Adobe Premiere Pro and have greater control over the visual and audio composition of your video project.
Comments
Post a Comment
any suggestion on my side