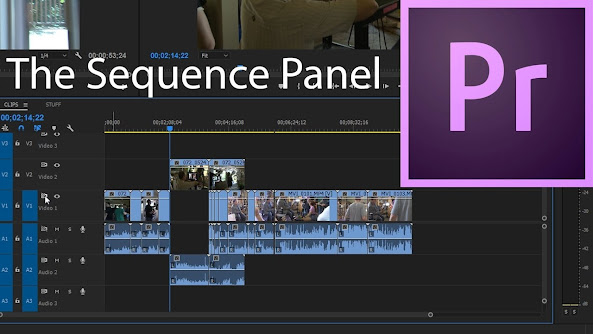
To
drag an up and down sequence in Adobe Premiere Pro, you can follow these steps:
1.
Launch
Adobe Premiere Pro and either create a new project or open an existing project.
2.
Locate
the Project panel, which is usually located in the lower-left corner of the
interface. This panel contains all your media assets, including sequences.
3.
Within
the Project panel, find the sequence that you want to move up or down in the
order. Sequences are typically represented by icons that resemble filmstrips.
4.
Click
and hold your mouse button on the sequence you want to move. You will see a
small hand icon indicating that you are ready to drag the sequence.
5.
While
holding the mouse button, start dragging the sequence to the desired position
within the Project panel. As you move the sequence up or down, you'll notice a
blue highlight appearing to indicate the potential placement of the sequence.
6.
Pay
attention to the blue highlight and position your cursor accordingly to ensure
the sequence will be placed where you want it. For example, if you want to move
the sequence to the top, position it above the existing sequences, and vice
versa for moving it down.

7.
Release
the mouse button to drop the sequence in its new position. Once you release the
mouse button, the sequence will be repositioned within the Project panel.

Comments
Post a Comment
any suggestion on my side